
My freezer is littered with avocado pits. My husband, who organizes our small, family of five freezer, (no easy feat) asks me about these pits about every other weekend. Oh – and the look on his face when my Mom drops off her own collection! (He married the daughter of a dyer, our freezer will always include a collection of “DO NOT EAT” labeled items.)
And I also explain to him, time after time, I must be in the right mood to create a color. The color must first jump onto the creative wave that ripples through the universe and flows through me. (Statements like this must be said with enunciated words and dramatic hand motions. If possible, walk out of the room before a response can be uttered or heard.) This spring, the color pink tapped on my shoulder. My spouse’s shoulders lifted as the avocado pits left the freezer.
How to create a Dye with Avocado Pits

** In the video I forgot to mention that the wool was first mordanted with alum.**
This is a simple dye that uses the basic natural dye supplies and dye formula. What’s different with this one is patience; I’ve learned that I get the best results when I heat this dye over several days. Then I add a modifier to create an alkaline dye bath.
Supplies:
- dye pot and stirring spoon
- heat source
- measuring spoons
- pH strips for testing the dye bath. (I have another video on modifying a dye.)
- Fiber – my personal choice are animal fibers, premordanted with alum. For this dye I tried two different types of weights: fingerling (with 25% nylon) and worsted weight.
Ratio – THE MORE THE BETTER.
Why not, right? I’ve had great results with a 3:1 ratio, about 3-4 pits per skein (100g) of wool. To freeze, I give them a quick rinse, toss in freezer. (Take them out about an hour before you want to use them to give them a chance to defrost. That will make them easier to cut.)
Process – This dye works best when done over a long period of time.
Day 1: let it simmer (No Boiling!) for a few hours. Turn off the heat.
Days 2-5: Simmer again the next day for about an hour. Continue for several days, until the dye turns a dark color and the pits look like they’re starting to break down.
I don’t strain any of my dye stuffs before adding fiber, but if you’d like to, this is the time to do it.
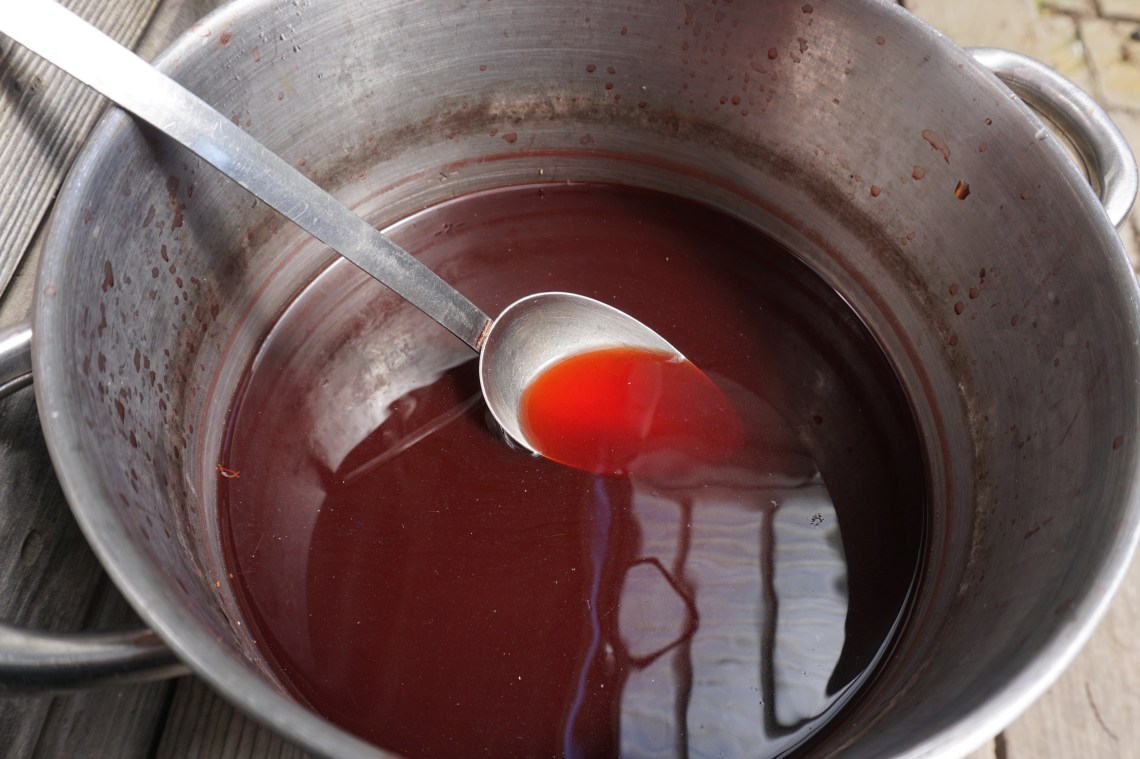
Alkaline Dye Bath- I add washing soda (or ammonia if you prefer) until the dye reaches about pH9, stir to make sure it’s completely dissolved, turn the heat way down (or off) and add the fiber. Let it marinate in the dye and watch it slowly turn pink.
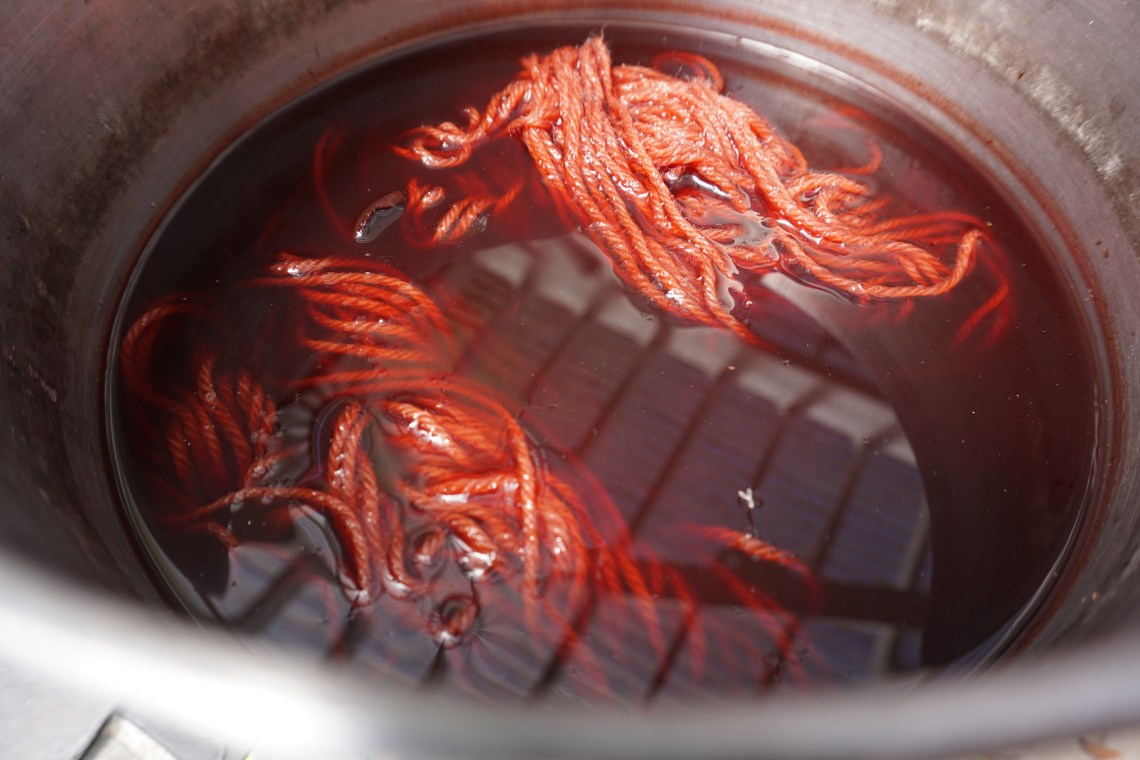
If you reach this stage and your skein stays stubbornly beige or pale pink, there’s a chance the dyebath needs to process a few more days. You can leave your fiber in overnight, remove it, reheat the dyebath to a gentle simmer for approximately another hour, turn off the heat, and add the fiber back in to sit overnight. Do this a few times, but keep checking that pH. Overtime it will change and the best results are with an alkaline dye bath.

And yes, of course the freezer is filling with pits again. My husband eats several avocados a week. What does he expect? Me, compost a dye source? I don’t think so.
Discover more from Myra Made Color
Subscribe to get the latest posts sent to your email.

That color is so fantastic! Who knew you could get pink from green avocadoes!
what a beautiful dye so clearly explained, Myra! I wonder if you might get an even deeper color if you chopped up those pits even smaller and then put them through a blender or food-processor to grind up those pits to “granules”… I’ve found that this helps with some of the tougher fungi to release more pigment into the dyebath…